Till now we have understood why meshing is required, the types of elements used in meshing, and when we use them.
Having some rule of thumb to start with for anything is always a good idea. In this post, we are going to see some thumb rules to keep in mind while meshing.
- Analyze the geometry carefully before meshing. You want to identify critical areas in the geometry and interfacing surfaces where there are contacts.
- Try to work with surfaces instead of solids, sometimes solids may have intersecting lines within them which creates a problem while meshing.
- Start meshing from critical areas as element size may require some special attention there, i.e., fine meshing would be required there, and then proceed onto non-critical areas where you can do a coarse mesh.
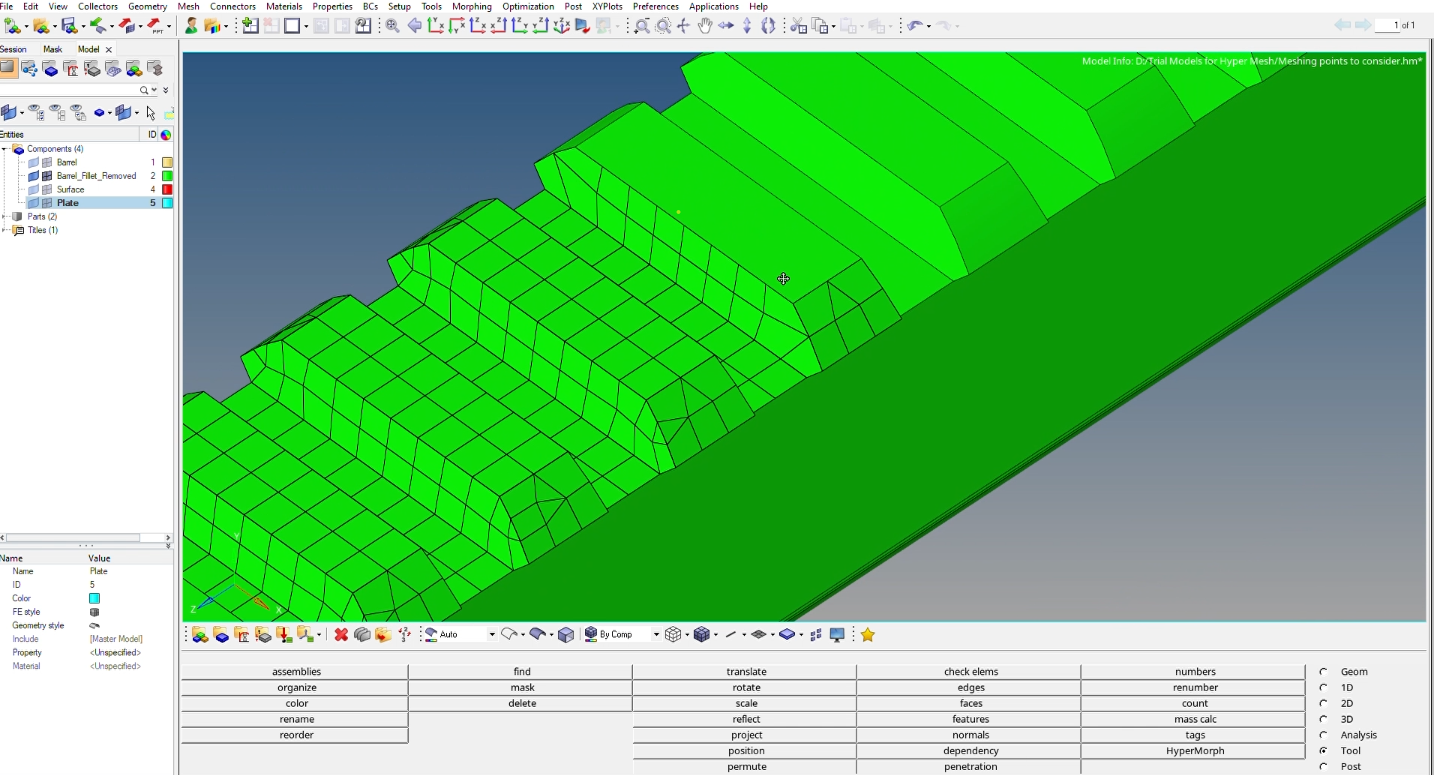
- Try to remove fillets and small holes in order to avoid using very small elements for meshing.
- Solving time for the solver is directly proportional to the number of elements and nodes. So, try to keep the number of elements as less as possible, but significant enough to still capture the geometry properly. This will help in reducing the run time for the solver but still give very good results.
- Try to see if the geometry is symmetric or if there is some pattern in the geometry so that you can reduce your effort by only meshing a small portion and extending or mirroring the small portion.
- You might have to re-mesh some localized areas manually to improve mesh quality, so always check the elements that are failing in Jacobian, skew, aspect ratio, etc.
- Ensure the proper coverage of the geometry with proper mesh flow.
- Check the connectivity of nodes.
Refer to the below video for better clarity on some of the points mentioned above.
This is all for this post. Will keep on learning and updating. Don’t forget to follow my Facebook and Instagram pages for regular updates. See you all.
